Using rotation to draw complex shapes in Figma

I build web applications for a living. And while I love working on software, there is something temporary about the work. Very little of what I make lasts for any length of time. The pace that software evolves is so rapid that 10 years out and what remains is either so dated that I wouldn’t put it in my portfolio or it has evolved so much that little remains from the original design.
Maybe this is what I find so inspiring about woodworking and metalworking. At least if you build something with your hands it is physical and has the opportunity to last.
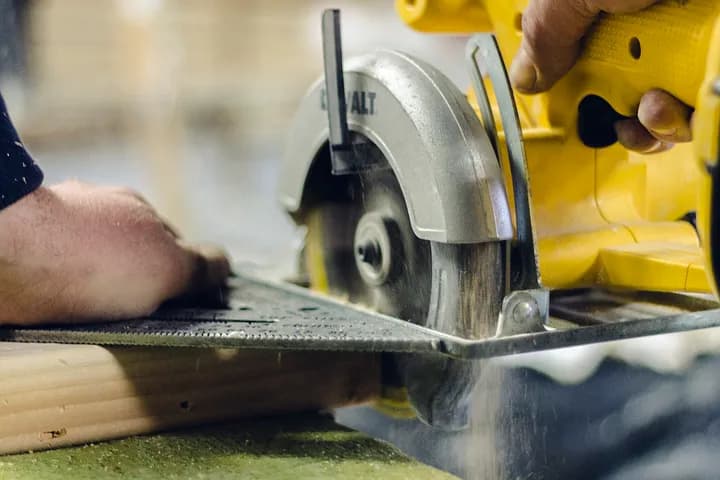
One of the things that is very interesting about watching people work with dangerous machinery like saws, mills, and routers is that they often achieve extraordinary results with simple repeatable movements.
When you work with the physical (wood and metal) you can’t just click undo! If something goes wrong you lose your work or even worse a finger! The stakes are high! This has led woodworkers and metalworkers to develop sophisticated systems not only to be safe, but also to make it easy to perform the same operations over and over again. These systems are often called jigs. I’ve started to look for jigs in my own work and it has led me to some interesting insights.
Today, I’d like to show you how to use rotations to make complex shapes in a modern illustration program. I’m going to be demonstrating this in Figma, but you can use the same techniques to achieve the similar results in any illustration program that supports rotation.
Building a gear
Let’s start with a moderately simple example: a gear.
I’ve had to draw gears many times in the course of my career. Perhaps it has something to do with the fact that gears are often used to illustrate the settings area of an app or software engineering in general.
My first attempts at drawing gears were not good. I tried drawing them freehand with the pen tool. And while you technically can draw the teeth by hand, it demands a lot of precision on a computer. More than what I was capable of. If the lines are even slightly off it won’t look right at all.
The best jigs use simple concepts to make the complex possible and repeatable.
The best jigs use simple concepts to make the complex possible and repeatable. This is especially true here. Instead of freehand drawing a gear, you can achieve fantastic results using simple shapes and rotation.
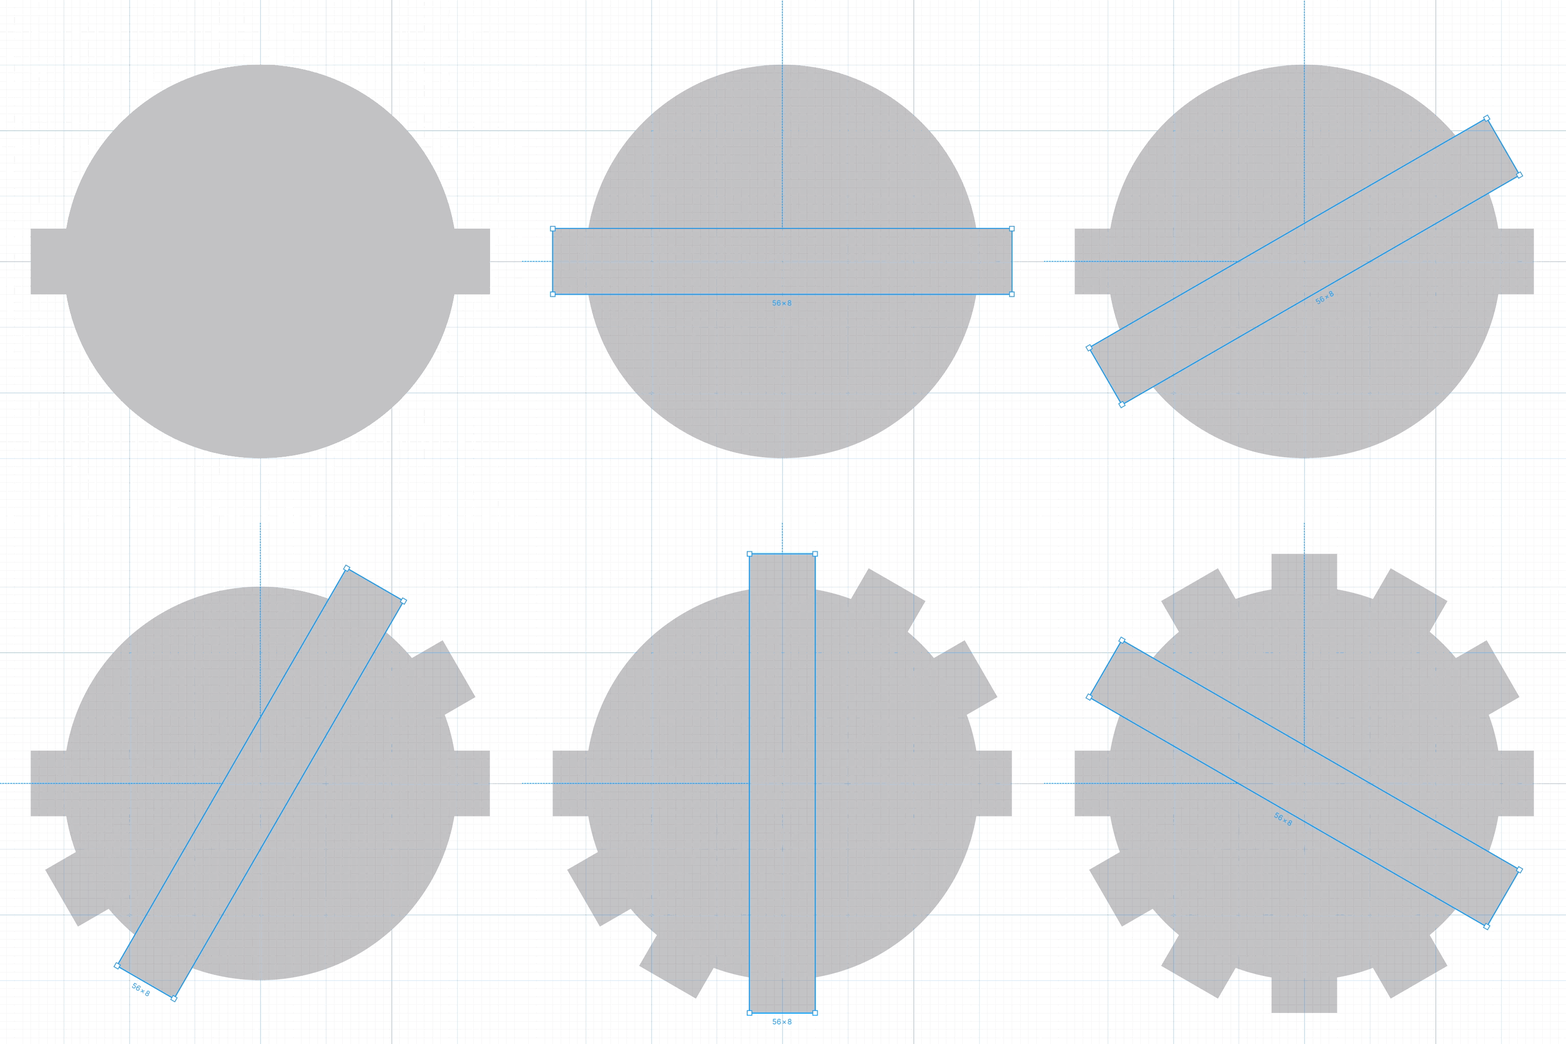
Step 1. Calculate the angle of rotation to evenly space the teeth around the edge of the gear. To do this divide 360 by the number of teeth that the gear should have. So if you want a gear to have 12 teeth: divide 360 by 12 to get 30 degrees. 30 degrees is the angle of rotation.
Step 2. Next, draw a circle to be the base of the gear:

Step 3. Now draw a long narrow rectangle along the X axis of the circle. Be sure that the rectangle pokes out on either side and is centered. (Where the rectangle extends beyond the circle it will create the teeth of the gear.)

Step 4. Clone the rectangle and rotate by your angle of rotation. Clone again and repeat until all of the teeth are accounted for. Each time you clone add the angle of rotation to the shape’s angle. In our example, clone five times and rotate 30, 60, 90, 120, and 150 degrees:
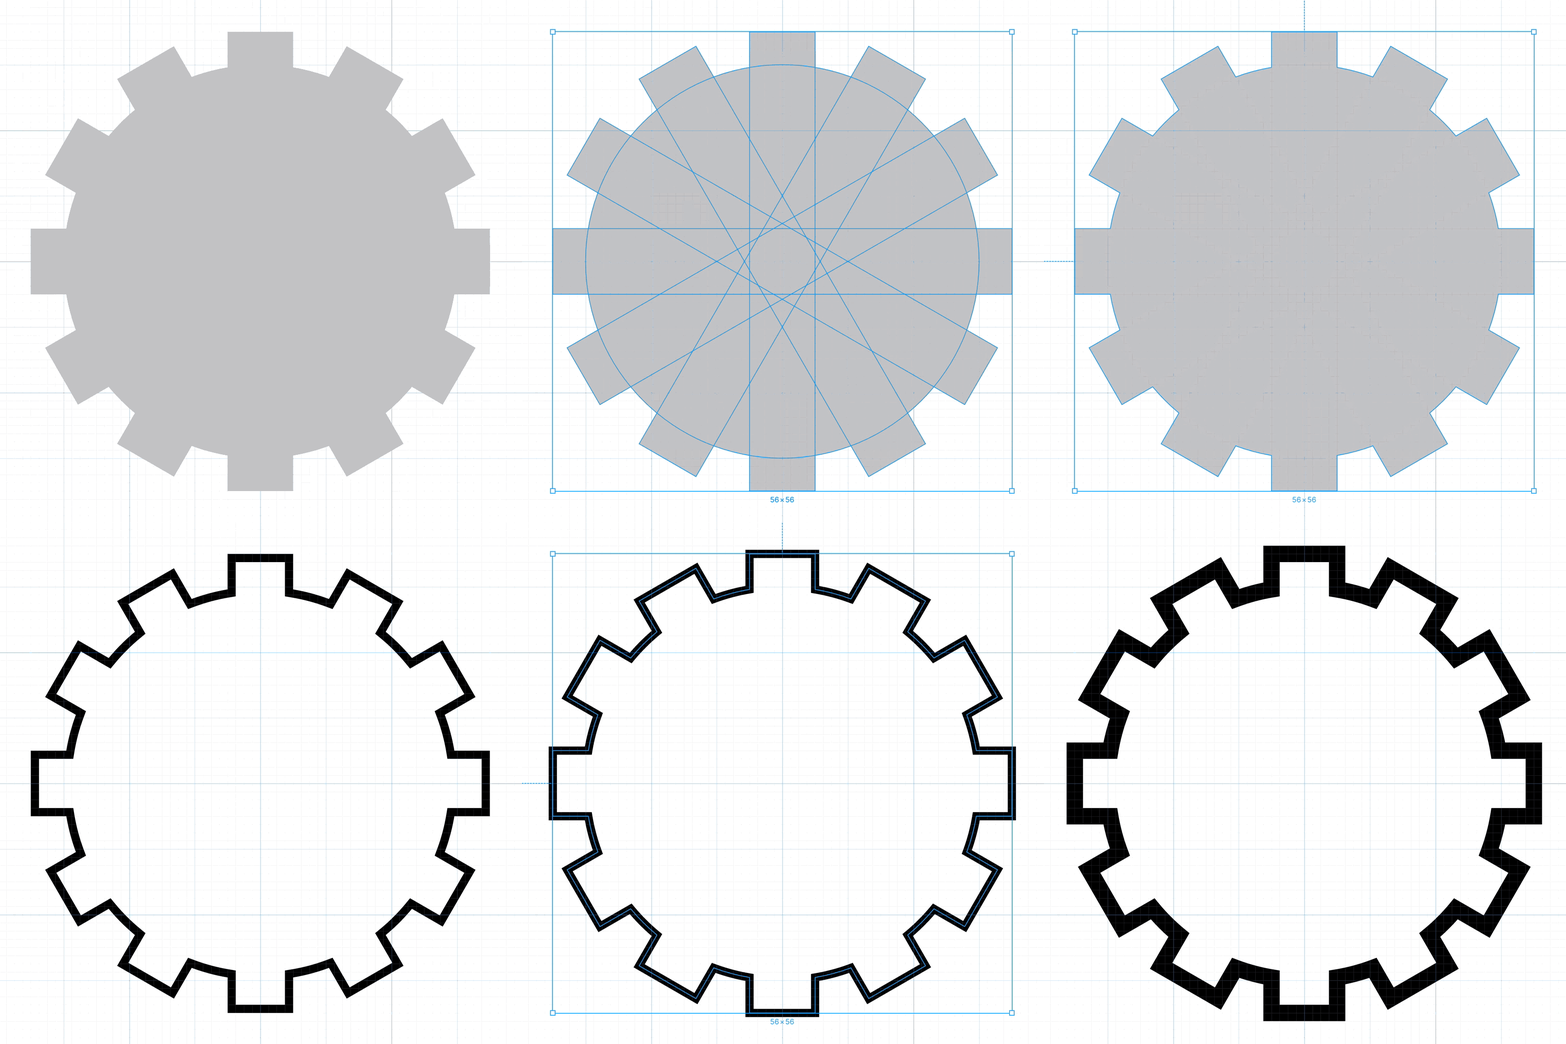
Step 5. Finally, union all of the shapes to create the perfect gear:
More Examples
We’re really just getting started. The same technique can be used to create other shapes, too.
Here’s how to create a 7-spoked helm:

And here’s a bike tire that was constructed with the same technique:

As you can see, rotation can be used to create many complex gear- and star-like shapes. I hope this serves as inspiration for identifying drawing jigs in your own work. There are many more types. A few of them have yet to be invented. Have you discovered your own drawing jigs?